Seals act as protective barriers for slewing bearings, blocking external dust, muddy water and gravel from entering the raceway while retaining grease to prevent leakage. A large number of equipment failures stem from delayed replacement of aged, failed seals: dust intrusion causes abrasive raceway wear, grease leakage leads to dry friction and rust, and water ingress triggers electrochemical corrosion, which can cut bearing service life in half. This article sets three levels of daily, weekly and monthly inspection standards, fully breaks down the 7-step standard seal replacement process, and explains cascading damages caused by seal failure, helping maintenance staff establish regular seal maintenance rules.
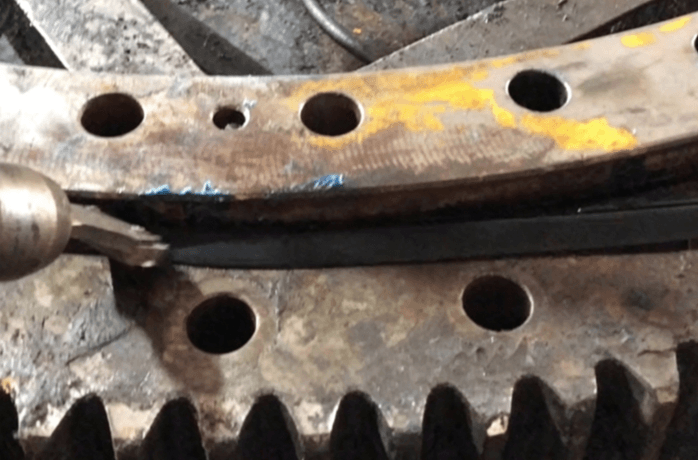
1. Three-Level Daily / Weekly / Monthly Seal Inspection Items
Daily Visual Quick Check (3 minutes before startup)
Before daily startup, walk around the bearing to visually inspect the exposed lip of the seal, focusing on three signals:
- Traces of continuous grease seepage or dripping;
- Cracked, flipped or fallen-off seal lip;
- Heavy caked mud and dust accumulated outside the seal, which must be cleaned immediately.
If grease dripping or seal damage is found, prolonged loaded operation is forbidden; arrange maintenance in advance.
Weekly In-depth Visual Inspection
During weekly shutdown maintenance, remove the outer dust cover and fully inspect overall seal condition:
- Measure the wear width of the seal lip; unilateral wear over 2mm indicates moderate aging;
- Check if rubber hardens, turns white, cracks or loses elasticity;
- Observe whether overflow grease distributes evenly during greasing; heavy overflow on one side means local seal failure.
Weekly inspection is mandatory for heavy dust and crushing conditions to avoid continuous abrasive wear from hard particles.
Monthly Disassembly Precision Inspection
During monthly full equipment maintenance, partially disassemble the flange to inspect the inner side of seals:
- Check seal frame for rust and deformation, and whether the retaining spring is loose or broken;
- Inspect for wear grooves and gaps on the fitting surface between seal and raceway;
- Record working conditions: seals under normal temperature general service shall be replaced every 12 months; for mining and submerged corrosive conditions, mandatory replacement every 6 months.
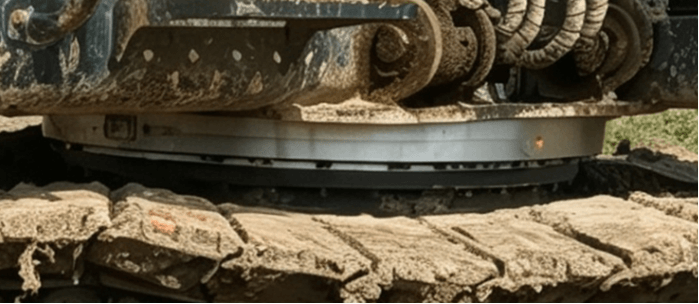
2. Standard 7-Step Seal Replacement Process
Step 1: Shutdown and Pressure Relief, Clean External Debris
Fully shut down and cut power, release residual hydraulic pressure, and thoroughly sweep dust, gravel and waste grease on the bearing outer ring, flange and seal groove to prevent impurities from falling into the raceway during disassembly.
Step 2: Diagonal Staged Bolt Removal, Separate Upper and Lower Flanges
Loosen all fastening bolts in diagonal stages, lift the upper rotary structure steadily, and avoid collision with raceways, gear surfaces and original seals throughout the process.
Step 3: Remove Old Seals Completely, Clean Seal Grooves
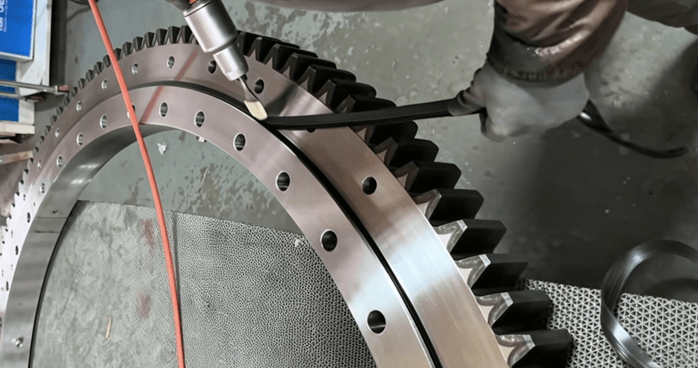
Peel off old seals completely with plastic pry bars — metal tools that scratch the groove are forbidden. Wipe accumulated grease, rust and rubber debris inside the groove with cloth and cleaning agent, and air-dry for later use.
Step 4: Verify Seal Material, Pre-coat Matching Grease
Confirm the new seal material matches working conditions (nitrile for normal temp, FKM for high temp, silicone for low temp). Coat a thin uniform layer of matching grease on inner and outer seal lips to ease assembly and boost initial sealing performance.
Step 5: Press New Seal Evenly, Ensure No Twist or Flip
Apply even pressure with a dedicated annular sleeve to fully seat the seal into the groove. Visually confirm no twist, wrinkle or unilateral lift on the seal lip, and the retaining spring fully locks into the positioning groove.
Step 6: Reassemble Flanges, Tighten Diagonally to Rated Torque
Reset the upper structure to fit the flange, and tighten bolts diagonally in three stages (30% →70% →100% rated torque) to release flange stress and avoid local seal deformation under pressure.
Step 7: No-Load Rotary Test, Refill Grease and Recheck Overflow
Rotate the bearing slowly by hand for 2~3 full circles with no jamming, then fill sufficient grease. The replacement passes inspection when new grease overflows evenly around the seal without heavy unilateral leakage.
3. Reminder of Cascading Damages Caused by Seal Failure
Many maintenance staff only replace seals when grease leakage is severe, ignoring long-term hazards of minor seepage:
- Dust intrusion: Hard particles enter raceways and trigger abrasive wear, leading to slewing noise and enlarged clearance, with pitting spalling on raceways within 3~6 months;
- Grease loss: Insufficient lubrication causes dry friction and rapid tooth surface pitting, and gear fracture easily occurs under crushing loads;
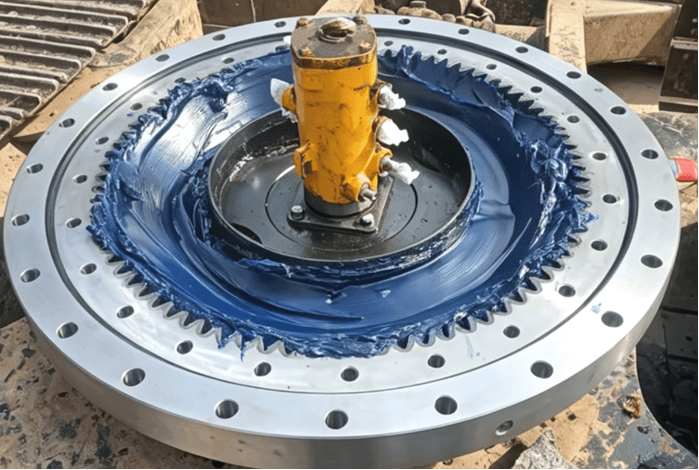
- Mud and water corrosion: Rain and mine slurry cause rust on raceways and bolts, reducing structural strength and bringing hidden risks of bearing fracture;
- Extra cost: The cost of one set of seals is far lower than full raceway and gear ring replacement. Delayed seal replacement results in multiple times higher repair costs and prolonged downtime losses.
4. Summary
Seals are low-cost, high-return consumable protective parts. Strictly implementing daily, weekly and monthly three-level inspections and regularly replacing matching-material seals via the standardized 7-step process can fundamentally avoid major failures such as raceway wear, gear fracture and rust. Follow replacement cycles strictly for different conditions: replace every 12 months for ordinary earthwork, mandatory replacement every 6 months for harsh mining, submerged, high-temperature and extreme cold scenarios, greatly extending the overall service life of slewing bearings and cutting full-lifecycle equipment maintenance costs.
About BRISK: 13 years OEM-compatible slewing bearings & construction machinery parts. Visit https://www.briskslewing.com | Contact: [email protected]